This blog article is part of an incredible Vintage Homemaking Series hosted by Karen Ehman. Click the image below to check out the other tips and tricks by wonderful bloggers who are joining in this series! You can also check out the details at karenehman.com
I love the vintage look. Before it was ever a trend, my mom and I would scout garage sales, estate sales, and antique stores in search of ancient artifacts, treasures that we could call our own.
As Pinterest came onto the scene, more and more trends popped up of people using doilies, crates and mason jars as decorations in their home. I quickly fell in love with the trends myself. So when Karen invited me to share something special for this Vintage Homemaking Series I was thrilled!
I recently created a little reading nook for my son, inspired by my sister-in-law’s decor in her son’s room. She had scored some vintage crates and stacked them sideways to be used as a book shelf.
I was eager to start my son’s reading nook, but after a few weeks of searching, I never found any reasonably priced vintage crates. My husband had a great idea, “Lets make them ourselves!” I was overjoyed that he wanted to help me on this project.
We took a weekend to devote some time to the project and asked his dad for a little carpentry help. The crates we made were all different sizes. I still desired to have a vintage look to them, so I began researching to see if we could get a non toxic wood stain. Since these were for my son and he is teething, I wanted to be sure that anything that was put on to finish them would be safe. Then I discovered that there was non toxic wood stain available, the best part is…I didn’t have to buy it! The trick is coffee!
My husband sanded the crates while I boiled some coffee grounds in some water.
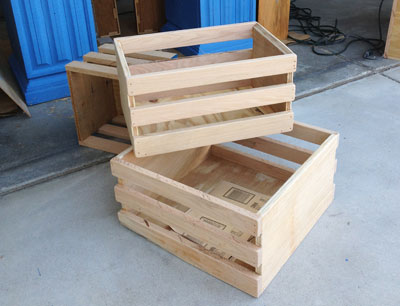
You can choose to make your own crates like we did or order them through Home Depot!
Here is the process for DIY Coffee Non toxic wood stain:
1. Pour 4-5 heaping scoops of coffee into a pot
2. Add 2-3 cups of water
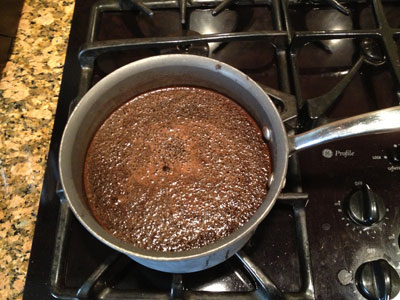
3. Boil 10 minutes
4. Stir often
5. Let sit for 2 days
6. Stir a few more times
7. For a light finish strain coffee grounds – or for a darker finish leave coffee grounds, however they will stick to the wood a little, most of which comes off with a little rub after drying.
8. Brush coffee stain over wood with a rag.
9. Repeat process depending on how dark you desire
10. Dry in sun
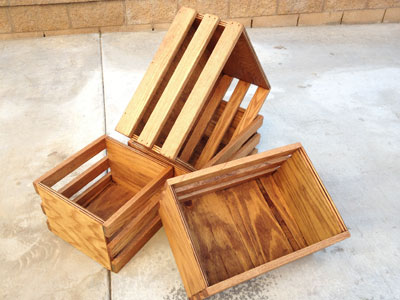
11. Finish wood with coconut oil, applying a generous amount with a rag.
There you have it! This is a fairly simple process and the results do give the wood a very vintage feel. I applied 3 coats of the coffee non toxic wood stain and 1 coat of coconut oil.
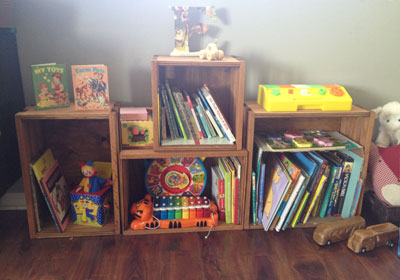
The end result was perfect and my son enjoys his reading nook! I also really loved doing a DIY project with my husband like this. It was new for both of us. We saw it as a little adventure.
I would encourage you to find things you can do with your husband and invest into your marriage through companionship.
In honor of this awesome series I am giving away a free copy of my devotional Wife After God which challenges you to do just this and cultivate adventures with your man! All you have to do to enter is leave a comment below!
Tell us what kind of adventures you like to do with your husband, especially if any of them have to do with vintage homemaking!
One lucky winner will be announced Tuesday September 3rd!

